

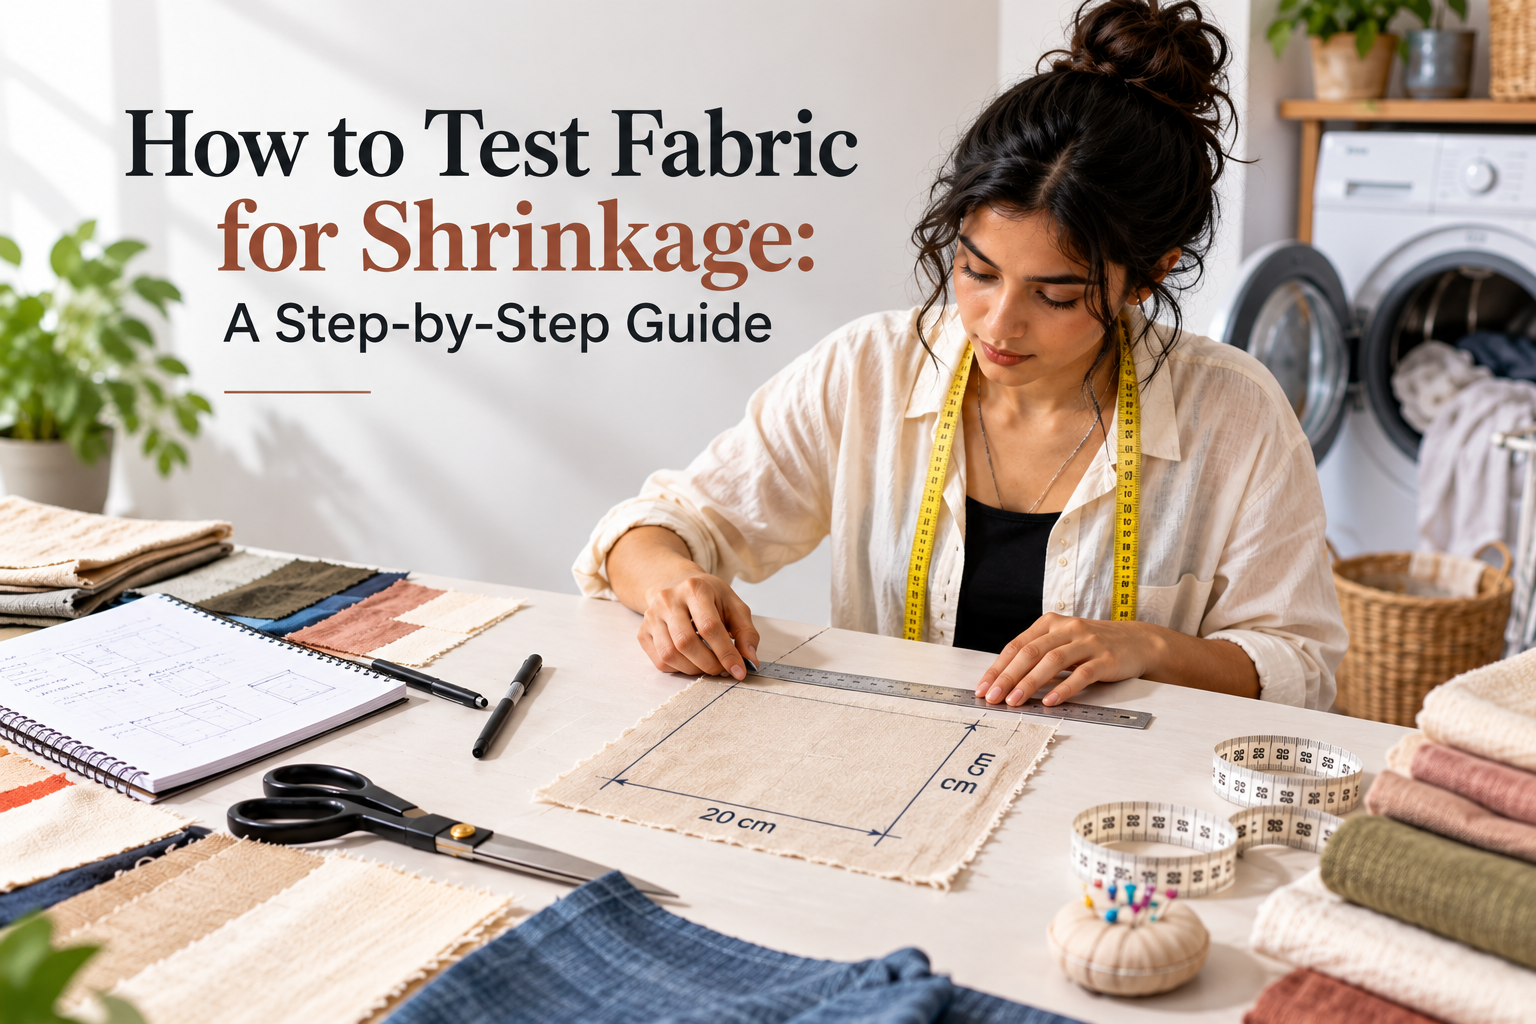
Imagine spending hours cutting and stitching a shirt, only to find that its sleeves are shorter after the first wash. The problem may not be your measurements or stitching. The fabric itself could have shrunk.
Fabric shrinkage can affect a garment’s length, width, fit and overall appearance. Whether you are learning fashion design, sewing clothes at home or working with a new fabric, checking for shrinkage before cutting can help you avoid costly mistakes.
The good news is that you can perform a simple fabric shrinkage test with a small fabric sample, a ruler and your usual washing equipment. Here is how to do it, calculate the results and decide what they mean for your sewing project.
What is fabric shrinkage?
Fabric shrinkage is a reduction in the length or width of fabric after washing, drying or another treatment. It is a form of dimensional change and is usually expressed as a percentage of the fabric’s original measurement.
Shrinkage does not always happen equally in both directions. A fabric might lose more length than width, which can alter the fit or proportions of a finished garment.
Textile laboratories assess these changes using defined procedures, including AATCC Test Method 135 for fabrics suitable for home laundering and ISO 5077 for determining dimensional change after specified washing and drying procedures.
For everyday sewing, a simplified home test can help you understand how a fabric is likely to behave under your intended washing and drying conditions.
Why should you test fabric for shrinkage before sewing?
Testing is particularly useful when working with fabric you have not used before or when making a fitted garment.
It helps you identify whether the material should be prewashed, how much its dimensions may change, and whether your planned care routine is suitable.
Consider a pair of trousers made from fabric that shrinks noticeably in length. Even if the cutting and stitching are accurate, the trousers could become shorter after laundering. Knowing about the shrinkage beforehand gives you an opportunity to prepare the fabric before cutting.
A small test is especially worthwhile when the fabric is expensive, the garment needs precise measurements or you plan to produce several pieces from the same material.
What you need for a fabric shrinkage test
You do not need laboratory equipment to perform a basic test at home. Gather the following:
- A fabric sample, approximately 25 cm by 25 cm
- A measuring ruler or measuring tape
- A fabric marker or contrasting thread
- A notebook to record measurements
- Mild laundry detergent suitable for the fabric
- Access to the washing and drying equipment you intend to use
Choose a sample from the same fabric you plan to sew. If you are working with several different fabrics, test each one separately.
How to test fabric for shrinkage at home
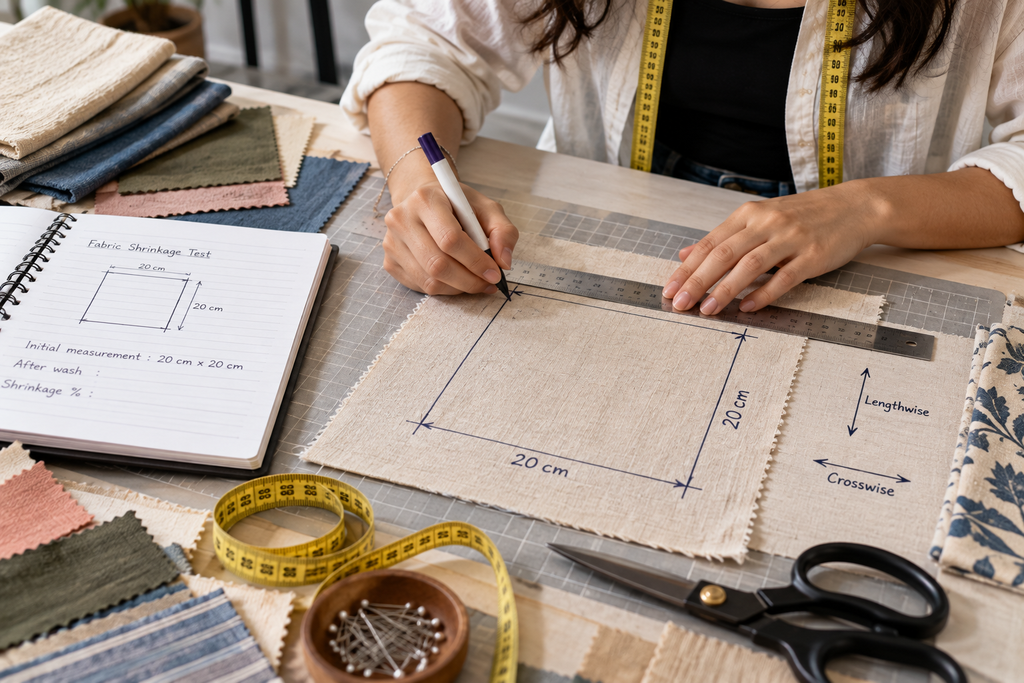
The basic process involves measuring a piece of fabric, washing and drying it, then comparing its new dimensions with the original measurements.
The fabric shrinkage test at a glance
Illustration suggestion: Use an original photograph of the marked fabric sample and ruler for the published article.
- Mark: Make a 20 cm by 20 cm square on your sample.
- Measure: Record the original length and width.
- Wash and dry: Use the fabric’s intended care conditions.
- Measure again: Compare the new dimensions with the original ones.
- Calculate: Work out the percentage change in each direction.
This is a simplified home method, not a substitute for a laboratory test. Standardized methods specify controlled procedures so results can be compared consistently.
Step 1: Cut and prepare your fabric sample
Cut a square measuring approximately 25 cm by 25 cm. If possible, choose an area without defects, creases or unusual distortion.
Place the sample on a flat surface and identify its lengthwise and crosswise directions. This is important because the fabric may behave differently in each direction.
Mark a 20 cm by 20 cm square inside the sample, leaving some fabric between your markings and the cut edges. Use a fabric marker that will remain visible after washing or make small, secure marks with contrasting thread.
Do not pull or stretch the fabric while marking it.
Step 2: Measure the fabric before washing
Lay the sample flat and measure the distance between your markings in both directions.
For example, your initial measurements might be:
| Measurement | Before washing |
| Length | 20 cm |
| Width | 20 cm |
Record these measurements, along with the fabric type and planned washing method. You will need the original figures to calculate shrinkage later.
Measure between the marked points rather than relying on the cut edges, which may fray during washing.
Step 3: Wash the fabric sample

Wash the sample using the conditions you expect to use for the finished garment.
Consider the water temperature, washing cycle and detergent. If the fabric comes with care instructions, follow them. For fabric sold without a care label, check the manufacturer’s or seller’s recommendations before choosing a washing method.
Do not automatically use hot water to speed up shrinkage. Testing under conditions you would never use for the finished garment may give you a misleading impression of its everyday behaviour.
The importance of consistent washing conditions is reflected in ISO 6330:2021, which defines procedures for domestic washing and drying during textile testing.
Step 4: Dry the fabric
Dry the sample according to its recommended care instructions and the routine you intend to follow after the garment is made.
If you plan to air dry the garment, do the same with the sample. If tumble drying is permitted and will be part of your normal routine, include it in the test.
Wait until the sample is completely dry before taking your final measurements. Let it settle on a flat surface without stretching it.
Unless ironing is part of your chosen testing procedure, avoid pressing or stretching the sample before measuring. These actions can change its dimensions and affect your result.
Step 5: Measure the fabric after washing
Place the dry sample on a flat surface and measure the distances between the original markings again.
Suppose you obtain these results:
| Measurement | Before washing | After washing |
| Length | 20 cm | 19 cm |
| Width | 20 cm | 19.6 cm |
In this example, the fabric has lost more length than width. Measuring both directions is therefore necessary to understand how it may affect your garment.
How to calculate fabric shrinkage percentage
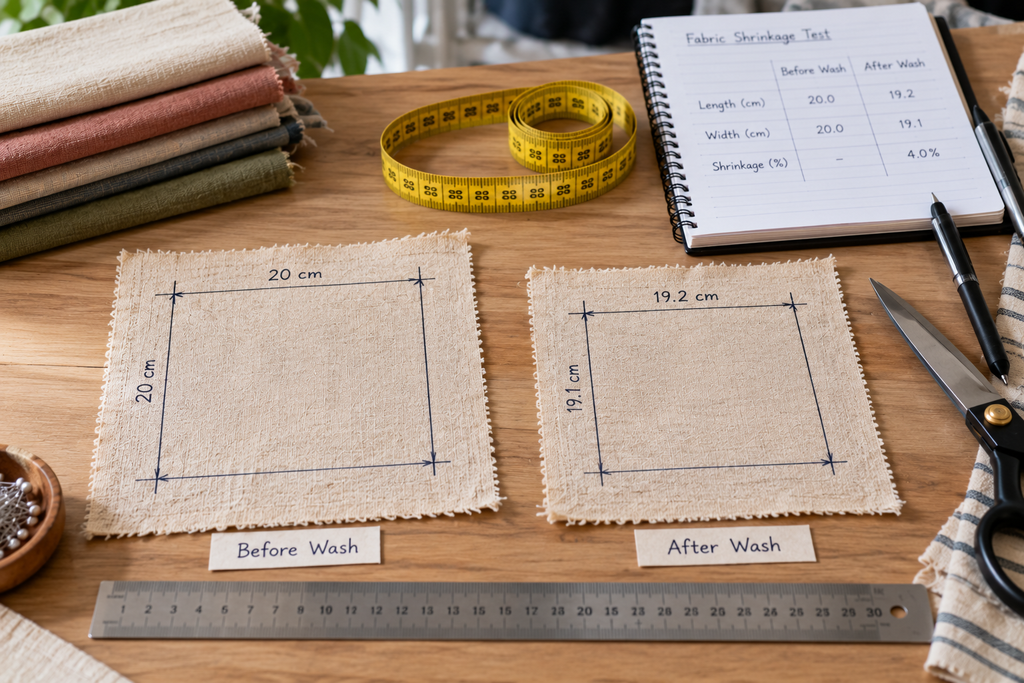
You can calculate fabric shrinkage using a simple formula:
Fabric shrinkage formula
A positive result from this formula indicates shrinkage. A negative result indicates that the fabric has increased in that dimension, sometimes referred to as fabric growth.
If you use professional testing documentation, check its reporting convention. Some methods report shrinkage as a negative dimensional change.
How much fabric shrinkage is acceptable?
There is no single acceptable percentage for every fabric or garment. The answer depends on the material, intended use, care instructions and dimensional requirements of the finished product.
For a fitted garment, even a relatively small dimensional change may affect the way it sits on the body. A loose garment may be more forgiving, although uneven shrinkage can still change its appearance.
If you are sewing at home, the most practical approach is to prewash suitable fabric before cutting and check that it has reached dimensions you are comfortable working with.
For commercial garment production, follow the relevant buyer specifications and standardized testing requirements rather than applying an arbitrary shrinkage limit.
Shrinkage Rates of Different Fabrics and Common Acceptable Limits
| Fabric type | Typical shrinkage after washing | Common practical acceptable range | Notes |
| Cotton woven | 3% to 5% | Up to about 3% to 5% | Prewashed or preshrunk cotton usually performs better than untreated fabric. |
| Cotton knit or jersey | 5% to 8% | Up to about 5% | Knitted structures generally allow more dimensional movement than woven fabrics. |
| Linen | 3% to 7% | Up to about 5% | Linen can shrink noticeably during the first washes, especially if untreated. |
| Viscose or rayon | 3% to 8% | Around 3% to 5%, depending on construction | Particularly sensitive to moisture, washing conditions and finishing. |
| Polyester | 0% to 2% | Around 1% to 3% | Polyester is generally more dimensionally stable than natural cellulose fibres. |
| Cotton polyester blend | 1% to 4% | Around 3% to 5% | Polyester content usually improves dimensional stability compared with pure cotton. |
| Denim | 3% to 6% | Around 3% to 5% | Raw or unsanforized denim can shrink considerably more. |
| Wool | 2% to 6% | Often around 3% to 5% | Heat, moisture and agitation can cause both relaxation shrinkage and felting. |
| Silk | 2% to 4% | Around 3% to 4% | Results depend heavily on fabric construction and care method. |
| Nylon | About 0% to 3% | Around 1% to 3% | Generally dimensionally stable under normal laundering conditions. |
Common mistakes when testing fabric shrinkage
Small mistakes during the test can affect your measurements. Watch out for these common problems.
Measuring only one direction: Fabric can shrink differently along its length and width. Always record both.
Measuring from frayed edges: Washing can change the appearance of the sample’s raw edges. Use internal markings as your reference points.
Stretching the fabric while measuring: Pulling on a sample can temporarily alter its dimensions and produce an inaccurate result. Lay it flat without tension.
Changing the washing conditions: If you use hot water for the test but plan to wash the finished garment in cold water, your results may not reflect normal use.
Assuming one wash tells the whole story: A single wash provides information about that wash cycle. If you need to know how the fabric behaves after repeated laundering, repeat the process, using the same conditions, and record the measurements after each cycle.
Can you prevent fabric shrinkage?
You may be able to reduce unwanted dimensional changes, but no preparation method guarantees that every fabric will remain exactly the same size.
Prewashing suitable fabric before cutting is one practical approach. It allows some dimensional change to occur before the fabric is turned into a finished garment.
Following the recommended washing and drying instructions also matters. A fabric that behaves well during gentle washing may respond differently to higher temperatures or tumble drying.
For delicate materials, such as fabrics requiring dry cleaning, do not use a home washing test unless the manufacturer confirms that washing is appropriate. Seek professional care or testing advice instead.
Frequently asked questions
Should you wash fabric before testing for shrinkage?
No. Measure and mark the sample before washing so you have an accurate original measurement to compare against. Washing it first without recording the initial dimensions prevents you from calculating the change caused by that wash.
Can you test fabric shrinkage without a washing machine?
Yes. If the fabric is suitable for hand washing, you can test it using the hand washing method you intend to follow. Keep the water temperature, handling and drying process consistent, and record the conditions used.
Can fabric shrink after it has already been prewashed?
Yes. Prewashing does not guarantee that all subsequent dimensional change has been eliminated. Repeating the test can help you see whether the sample continues to change after additional washes.
Conclusion
Testing fabric for shrinkage is a useful habit before starting a sewing project, especially when you are working with an unfamiliar material or making a garment that requires accurate measurements.
Mark and measure a sample, wash and dry it under the intended care conditions, then calculate the change in length and width. The results can help you decide how to prepare the rest of your fabric before cutting and sewing.