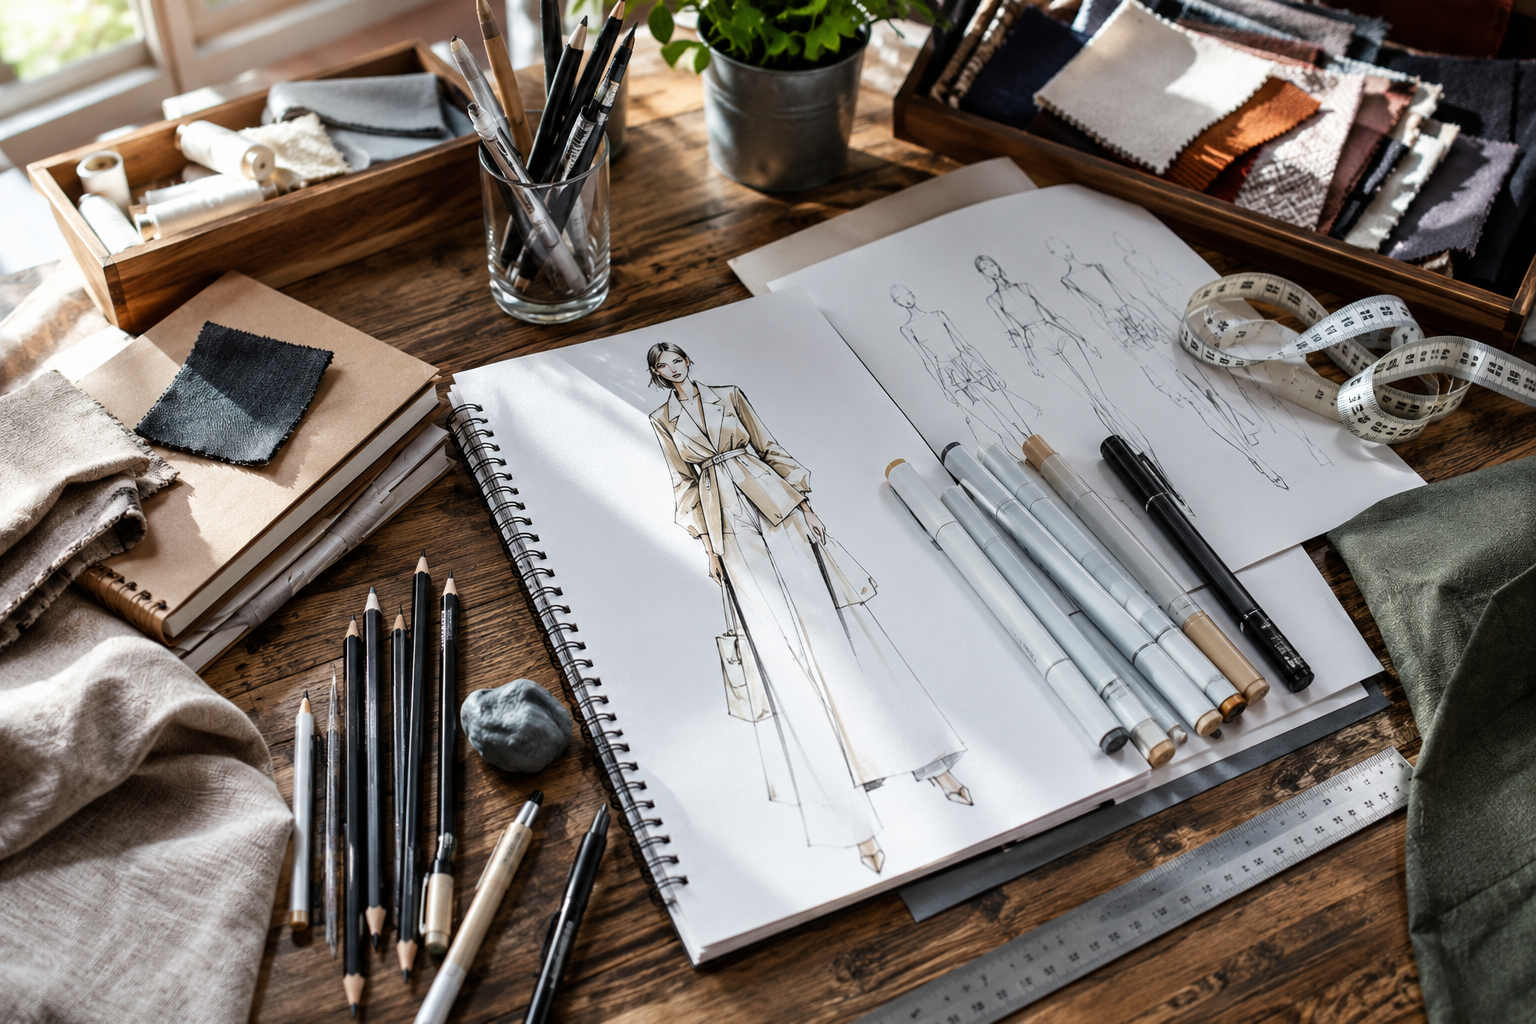
Fashion illustration is where every great fashion collection begins. Before a garment reaches the runway, enters production, or appears in a look book, it starts as a sketch. These illustrations help designers communicate ideas, experiment with silhouettes, visualize fabrics, and transform concepts into wearable fashion.
However, many aspiring fashion illustrators make the same mistake when starting their journey: they assume that talent alone is enough.
Walk into any art supply store and you’ll be greeted by hundreds of markers, dozens of sketchbooks, countless pencil grades, and tools you’ve probably never heard of before. For beginners, this can be overwhelming – and expensive. Buying the wrong materials can slow your progress, waste money, and make even simple techniques unnecessarily difficult to master.
The good news? You don’t need every tool on the shelf.
What you need is a carefully selected toolkit that helps you learn the fundamentals while producing professional-looking fashion sketches. In this guide, you’ll discover the essential fashion illustration tools and materials every beginner needs, along with expert recommendations, common mistakes to avoid, and the growing importance of digital illustration in today’s fashion industry.
The Five Essentials (Start Here, Nowhere Else)
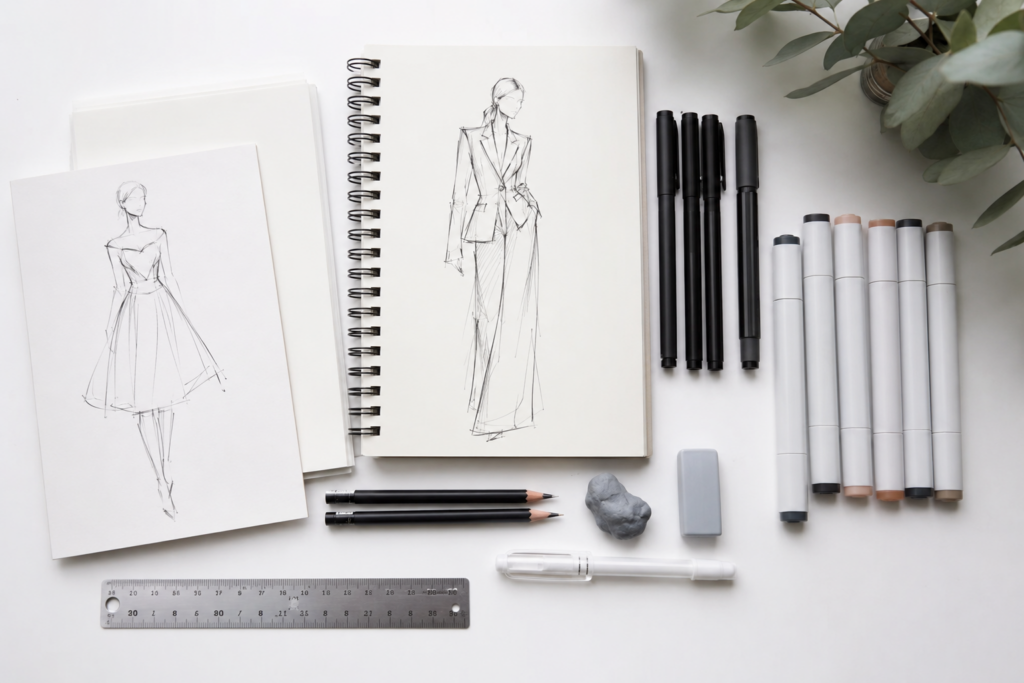
If you remember nothing else from this article, remember this list. This is the entire foundation.
| Tool | Why It’s Non-Negotiable |
| Bristol board or 120–180 GSM sketchbook | Handles ink and marker without warping or bleeding through |
| Pencil set (2H, HB, 2B) | Covers guidelines, everyday sketching, and outlining |
| Kneaded eraser | Lifts graphite cleanly without tearing paper or smudging |
| 3–5 alcohol-based markers | Skin tone, black, and one or two neutrals cover most early work |
| Waterproof fine-liner | Locks in your linework so markers don’t make it bleed |
That’s it. That’s the whole shopping list for your first month. Everything past this point is about leveling up, not catching up.
Paper: The Tool Nobody Warns You About
Most beginners don’t think twice about paper – until their first marker illustration bleeds through three pages and pools into a blotchy mess.
For marker work, bleedproof marker paper is the move. It’s engineered to stop ink from feathering outward, which is what gives professional fashion sketches that crisp, controlled look.
For mixed media – watercolor, ink, colored pencil, or any combination – Bristol board earns its reputation. It’s heavier, slightly textured, and holds up to layering in a way regular paper simply can’t.
For daily practice sketches that don’t need to survive heavy rendering, a sketchbook in the 120–180 GSM range is the sweet spot: thick enough to resist warping, light enough on your wallet that you won’t feel precious about “wasting” pages on practice.
Pencils: Why Professionals Carry More Than One
Walk past any working illustrator’s desk and you’ll find a small handful of pencils, not one all-purpose stick. Each grade has a job.
| Grade | What It’s For |
| 2H | Light croquis guidelines that won’t show through marker or watercolor |
| HB | General, everyday sketching |
| 2B | Confident outlines and garment detail |
| 4B–6B | Deep shadow and texture – think denim creases, wool bulk, velvet shading |
The logic is simple: a 2H is hard and light, so your construction lines disappear under color later. A 6B is soft and dark, perfect for the kind of heavy shadow that makes fabric look like it has actual weight. Using a single HB pencil is possible, but unnecessarily hard.
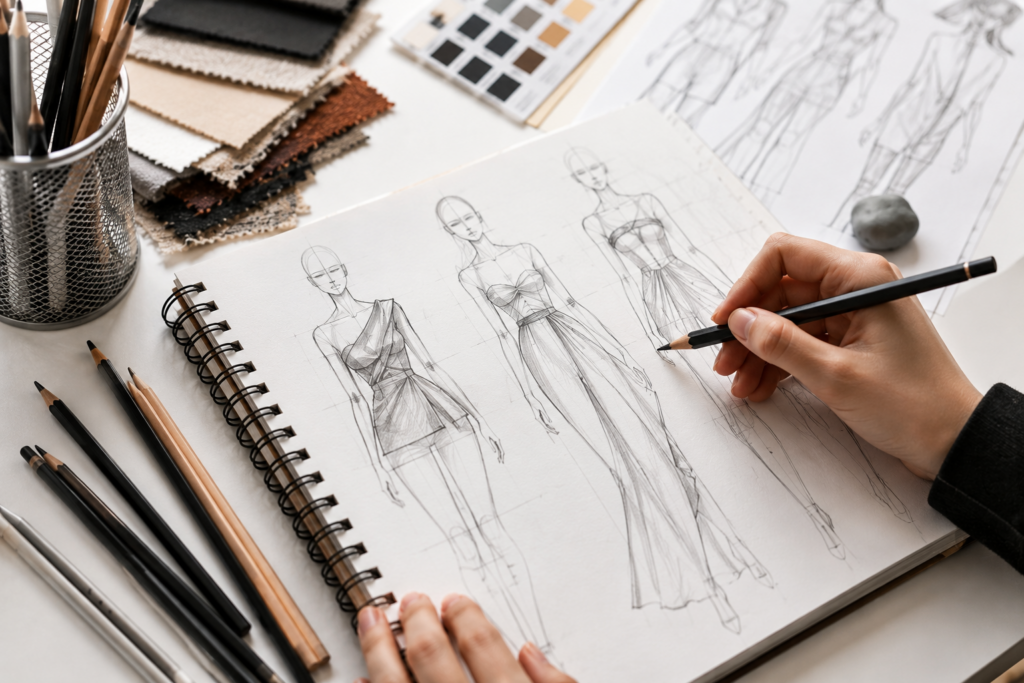
The Eraser That Actually Belongs in Your Kit
Skip the pink eraser. A kneaded eraser is the one worth owning, and it’s not even close.
Unlike a standard eraser, which scrubs and can tear delicate paper, a kneaded eraser lifts graphite by pressing, not rubbing. That means you can:
- Soften or remove construction lines without smudging
- Dab in highlights on fabric or skin
- Correct tiny details without disturbing the surrounding sketch
It’s a small, inexpensive tool that solves a problem most beginners don’t even realize they have until they try one.
Croquis: Your Shortcut to Better Proportions
A croquis is a pre-drawn fashion figure template – essentially scaffolding for your garment ideas. Even seasoned designers reach for one constantly, not because they can’t draw a figure from scratch, but because croquis free up mental energy for the part that actually matters: the clothes.
One tip that saves a lot of frustration: don’t draw directly onto dark, pre-printed croquis sheets. The heavy lines tend to show through your finished illustration and flatten the professional look you’re going for. Instead, slide a lighter croquis underneath your paper and trace through it, then lift it away once your guidelines are down.
Markers: Where Your Illustration Comes Alive
This is the stage where a sketch turns into something with color, mood, and texture – and it’s also where quality matters most.
Alcohol-based markers (Copic, Prismacolor, and Ohuhu are the names you’ll see most often) blend in smooth, even layers. Water-based markers, by comparison, tend to streak and pool unevenly, which is exactly the look that makes a strong design read as amateur.
You don’t need the full 200-color set on day one. A focused starter palette – a couple of warm and cool grays, a basic skin tone, black, beige, and a blue – will carry you through the vast majority of beginner projects.
A money-saving note worth taking seriously: cheap markers feel like the budget-friendly choice, but they often need replacing fast once they streak, dry out unevenly, or simply can’t blend the way alcohol-based markers can. Buying a small set of quality markers up front is usually the more economical path over time, simply because you’re not re-buying the same colors twice.
Fine-Liners: The Pens Doing the Quiet, Important Work
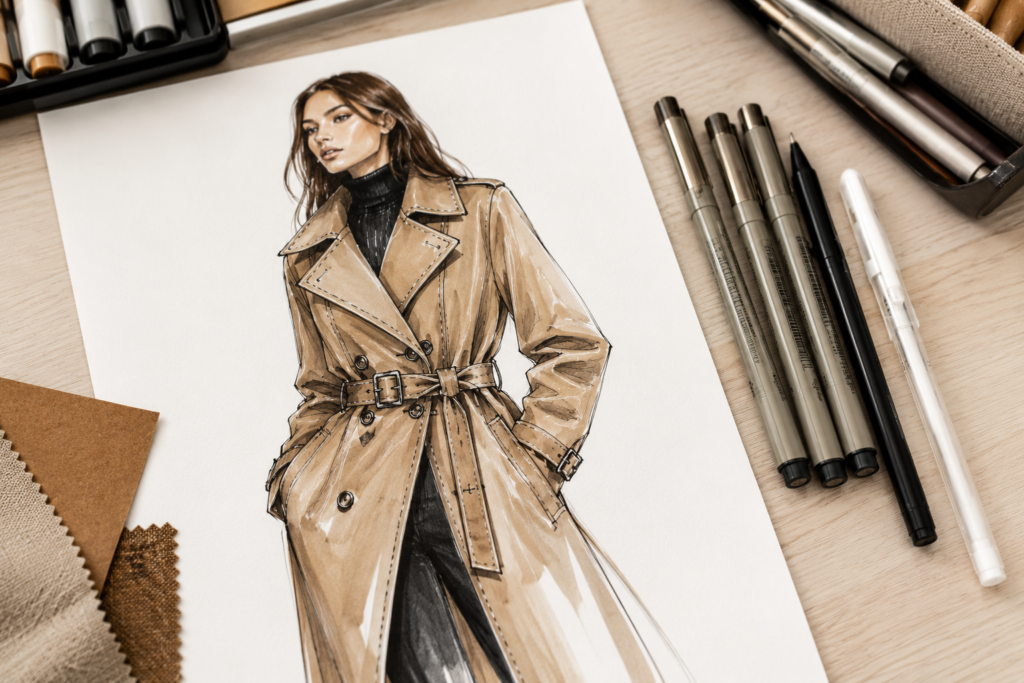
Seams, topstitching, buttons, zippers, pleats – all the small technical details that separate a rough sketch from a wearable design – come down to clean linework. That’s a fine-liner’s job.
A small range of widths (0.05mm, 0.1mm, 0.3mm, 0.5mm) covers most needs, from delicate stitching to bold outer silhouette lines.
One rule that will save you a ruined illustration: always check that your fine-liner is labeled waterproof and marker-proof. Run a marker over non-waterproof ink and watch your crisp linework dissolve into a smudgy gray halo. It’s an easy mistake to make exactly once.
White Gel Pens: The Underrated Finishing Touch
If there’s one tool that makes beginner work suddenly look more polished, it’s a white gel pen used sparingly for highlights – the gleam on a leather jacket, the sheen on silk, a glint of jewelry, a spark in an eye. These tiny accents do an outsized amount of work in making an illustration feel finished and three-dimensional.
Colored Pencils and Watercolor: Still Worth Owning
Markers dominate the rendering stage, but they’re not the whole story.
Colored pencils (artist-grade – Faber-Castell Polychromos is a common favorite) excel at soft shading, textured fabrics, and layered color in a way markers can’t replicate. Skip the waxy school-grade sets; they blend poorly and look chalky next to professional pigments.
Watercolors shine for anything light and flowing – chiffon, silk, bridal gowns. Their natural transparency captures movement and delicacy that a flat marker fill simply can’t match. Pencil for everything is like trying to cook an entire meal with just a butter knife – technically pos
The Digital Fashion Illustration Toolkit
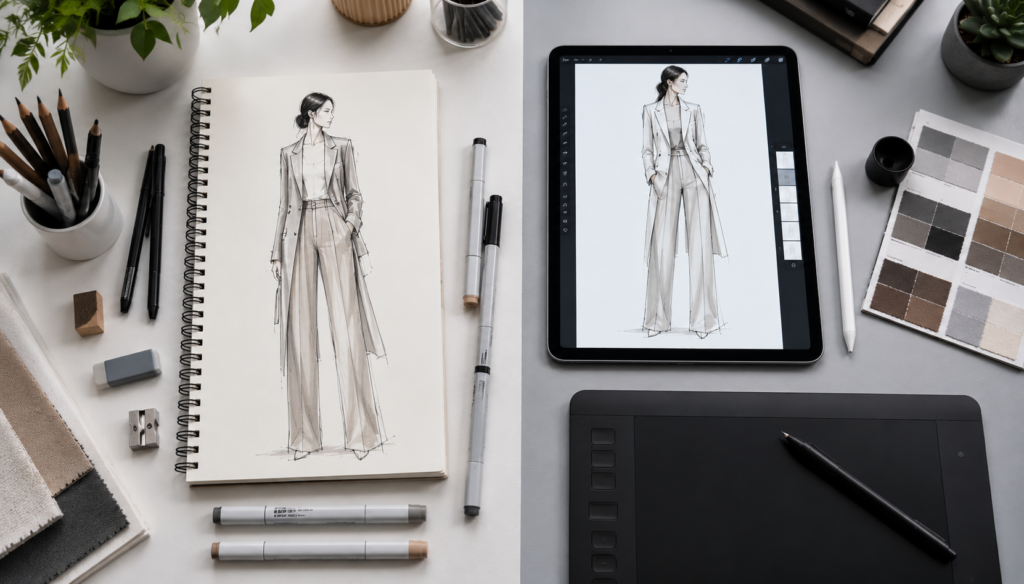
While traditional illustration remains important, modern fashion design increasingly depends on digital workflows.
Learning digital fashion illustration early can provide a significant competitive advantage.
Graphic Tablets
Graphic tablets allow designers to sketch directly into design software.
Popular beginner-friendly options include:
- Wacom
- XP-Pen
- Huion
Benefits include:
- Faster revisions
- Professional workflow integration
- Unlimited editing
- Easy portfolio development
iPad and Apple Pencil
Many fashion students and professionals now prefer the portability of an iPad paired with an Apple Pencil.
This setup offers:
- Natural drawing experience
- Pressure sensitivity
- Mobility
- Professional-quality results
For many designers, it has become the ultimate portable sketchbook.
Essential Fashion Illustration Software
Procreate
Best for:
- Artistic fashion sketches
- Digital rendering
- Quick concept development
- Custom brushes and croquis templates
Adobe Photoshop
Best for:
- Advanced rendering
- Textile effects
- Portfolio presentations
- Color exploration
Adobe Illustrator
The industry standard for:
- Technical flats
- Vector artwork
- Production-ready designs
- Tech packs
While Procreate captures creativity, Illustrator transforms concepts into manufacturing-ready designs.
Going Digital: When and What to Add
Traditional materials build the foundation, but digital tools are now a standard part of the modern fashion workflow — not a replacement, but a serious complement.
A graphic tablet (Wacom, XP-Pen, and Huion are common entry points) or an iPad with Apple Pencil lets you sketch with natural pressure sensitivity while gaining instant undo, easy revisions, and a portfolio that’s ready to share at any moment.
| Software | Best For |
| Procreate | Expressive sketching, custom brushes, fast concept work |
| Adobe Photoshop | Detailed rendering, textile effects, portfolio presentation |
| Adobe Illustrator | Technical flats, vector artwork, production-ready tech packs |
A useful way to think about it: Procreate is where ideas get explored, and Illustrator is where they get turned into something a factory could actually produce.
Build Your Kit in Three Stages
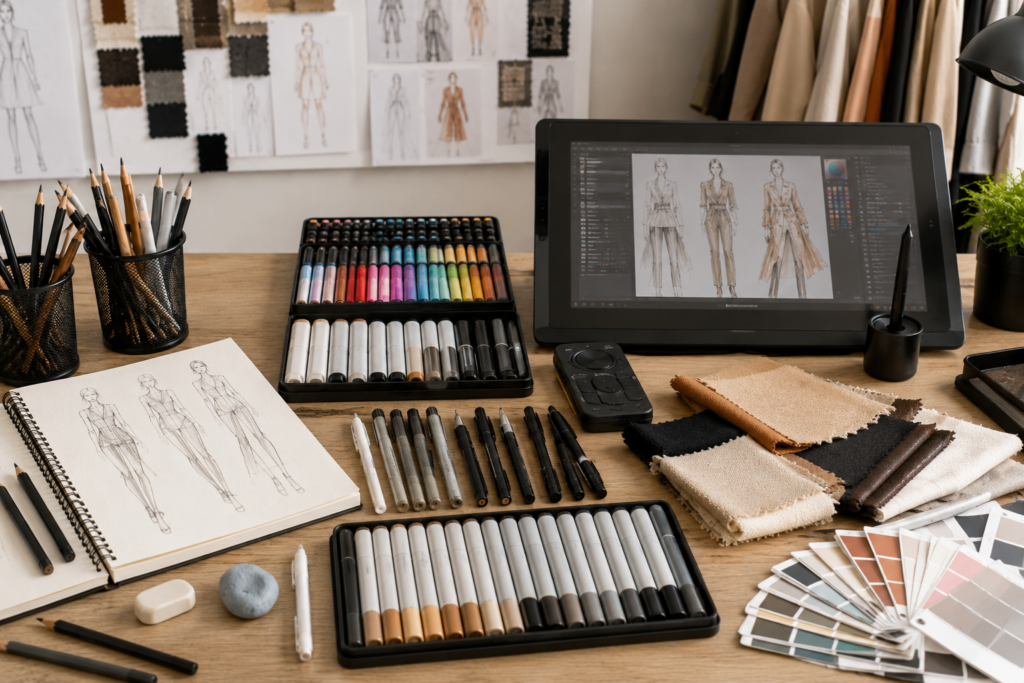
- Stage 1 – Starter Kit Sketchbook or Bristol paper, 2H/HB/2B pencils, kneaded eraser, waterproof fine-liner, 3–5 alcohol markers, white gel pen, ruler.
- Stage 2 – Intermediate Kit Full marker set, watercolors, artist-grade colored pencils, croquis templates, fabric swatches.
- Stage 3 – Professional Kit Graphic tablet or iPad with stylus, Procreate, Adobe Illustrator, Adobe Photoshop.
- Move through these stages as your skills grow – not all at once, and not because a store display told you to.
Final Thoughts
Fashion illustration is not about owning the most expensive supplies – it’s about choosing the right ones. A beginner equipped with quality paper, a few professional markers, a reliable fine-liner, and a commitment to practice will often progress faster than someone with an overflowing art cabinet and no strategy.
Start with the essentials. Learn how different materials behave. Study real fabrics. Experiment with both traditional and digital methods. Most importantly, focus on consistency rather than perfection.
The right toolkit won’t make you a fashion illustrator overnight, but it will remove the barriers that prevent your ideas from reaching the page. And in fashion design, the ability to communicate your vision clearly is what separates a sketch from a successful design.
Frequently Asked Questions
What are the most important fashion illustration tools for beginners?
A sketchbook, graphite pencils, kneaded eraser, waterproof fine-liner, alcohol-based markers, and a ruler form the ideal beginner toolkit.
Do I need expensive supplies to learn fashion illustration?
No. A small collection of quality essentials is more effective than purchasing dozens of low-cost tools.
Are alcohol-based markers worth it?
Yes. They provide smoother blending, cleaner rendering, and a more professional finish than most water-based markers.
Is digital fashion illustration replacing traditional sketching?
Not entirely. Most designers use both methods. Traditional sketching builds foundational skills, while digital tools improve efficiency and collaboration.
Which software should beginner fashion illustrators learn first?
Procreate is excellent for artistic illustration, while Adobe Illustrator is essential for technical fashion design and production work.