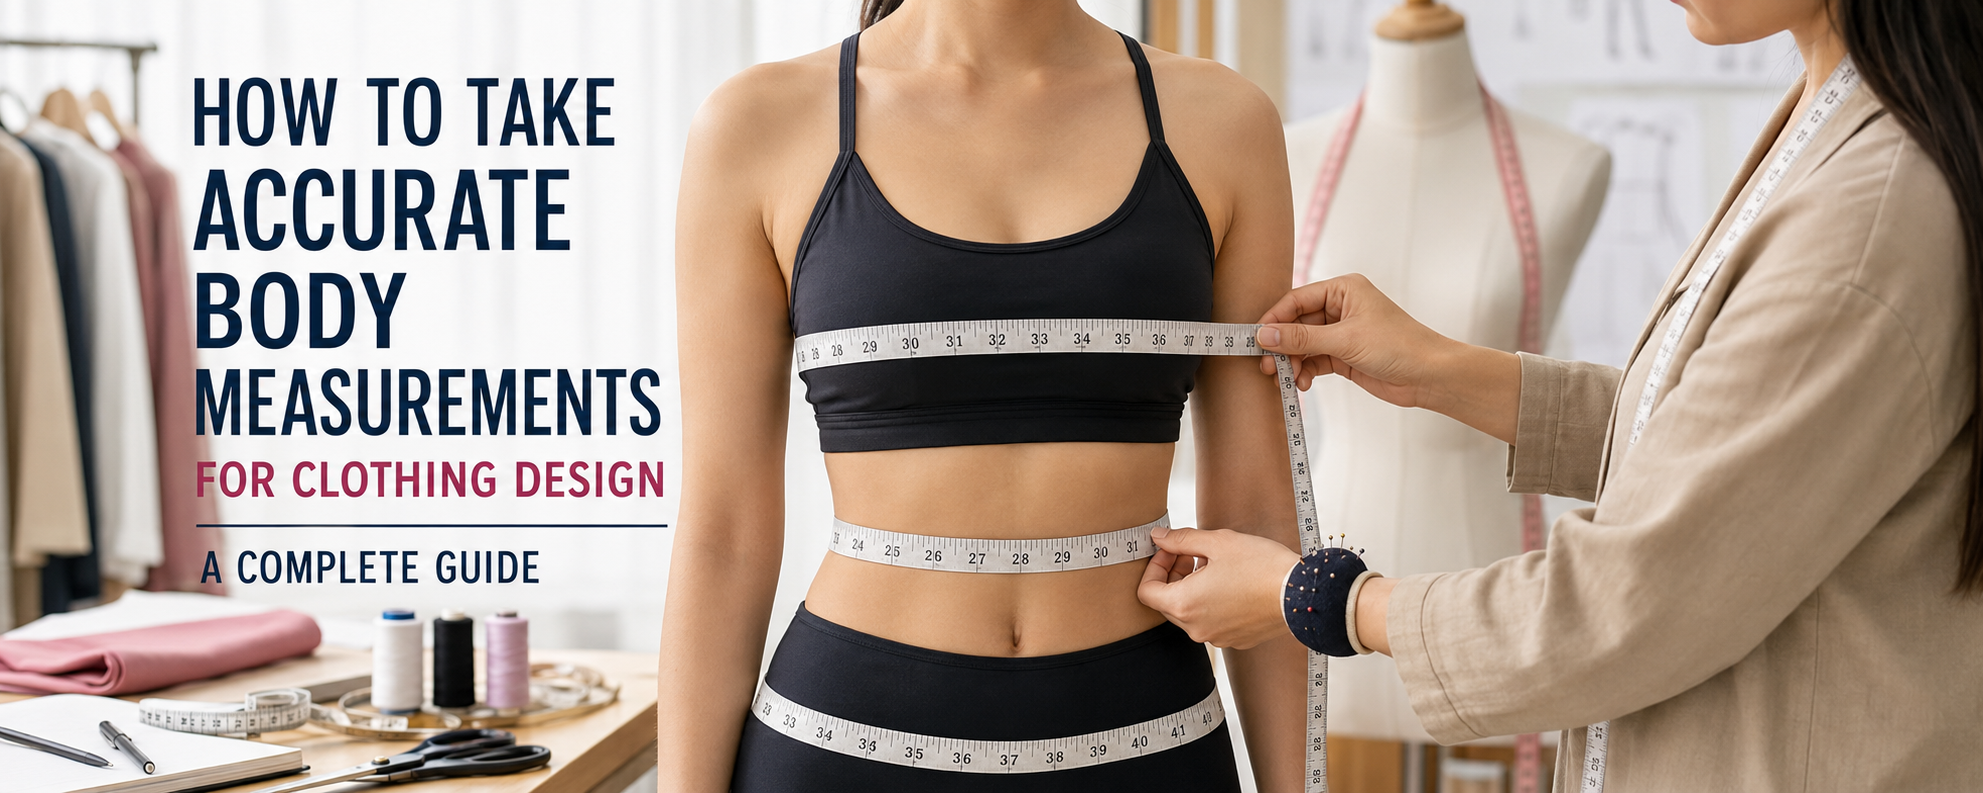
Accurate body measurements are the starting point of every well-fitting garment. Whether you’re creating a custom dress, drafting a sewing pattern, tailoring a suit, or learning fashion design, measuring the body correctly helps achieve better fit, comfort, and balance in the finished garment.
Incorrect measurements can lead to fitting problems, fabric waste, and time-consuming alterations, even if the pattern and sewing are done perfectly. That’s why professional fashion designers, tailors, and pattern makers always begin with precise body measurements before cutting any fabric.
This step-by-step guide explains how to take accurate body measurements using the correct measuring techniques, where each measurement should be taken, and why it matters in garment construction. Whether you’re a beginner or an experienced designer, you’ll learn practical methods to improve measurement accuracy and create clothing that fits as intended.
Why Measurement Accuracy Matters
Ready-to-wear sizing absorbs a lot of error because brands build generous ease into their patterns to fit a wide range of bodies. Design work is different: when you’re drafting a pattern, grading sizes, or fitting one specific person, even a half-inch error at the bust or an extra inch at the hip changes seam placement, sleeve hang, garment balance, and whether a zipper closes properly.
Beyond fit, there’s an economic cost – fabric cut from inaccurate measurements may need expensive alterations, waste material, or become unsalvageable if it’s too small. This is also why made-to-measure garments cost more than ready-to-wear: they’re built specifically from one person’s measurements, so those measurements have to be right.
| Garment | Measurement Error | Real Consequence |
| Fitted Dress | Bust off by even 1 in (2.5 cm) | Bodice gapes or becomes tight enough to strain seams |
| Trousers | Incorrect inseam | Pants drag on the floor or become visibly too short |
| Trousers | Incorrect crotch depth | Gaps at the back waist or restriction while sitting |
| Jacket / Blazer | Incorrect shoulder width or sleeve length | Sleeves droop, feel tight, or restrict arm movement |
| Long Dress / Skirt | Incorrect length | Wearer steps on the hem, risking damage or falls |
| Any Fitted Garment | Waist too tight | Abdominal pressure, restricted breathing, discomfort |
Body Measurements, Garment Measurements, and Ease
Body measurements are a person’s actual dimensions – nothing added. Example: Bust 36 in, Waist 30 in, Hip 40 in. Garment measurements are body measurements plus ease: the extra room built in so a garment allows movement or achieves a particular silhouette. Confusing the two is one of the most common reasons a project doesn’t fit, even when the original body measurements were accurate.
Wearing Ease vs. Design Ease
Wearing ease is the minimum room needed for normal movement – sitting, bending, breathing. Every fitted woven garment needs some. Design ease is additional room added purely for style (an oversized shirt, a relaxed dress) – a creative choice, not a fit requirement.
| Garment Type | Typical Wearing Ease at Bust/Chest |
| Fitted Woven Bodice / Shirt | 2–3 in (5–7.5 cm) |
| Tailored Blazer | 3–4 in (7.5–10 cm) |
| Casual / Relaxed Dress | 1.5–3 in (4–8 cm) |
| Oversized Top | 4–8+ in (10–20+ cm) |
| Stretch Knit Top | 0 to –2 in (Negative Ease) |
Negative ease – where the garment is smaller than the body and the fabric stretches to fit – is used for knit tops, leggings, activewear, and compression garments. Two designers can start with identical body measurements and produce very different-fitting garments simply by choosing different amounts of ease.
Tools and Preparation
| Tool | Why It Matters |
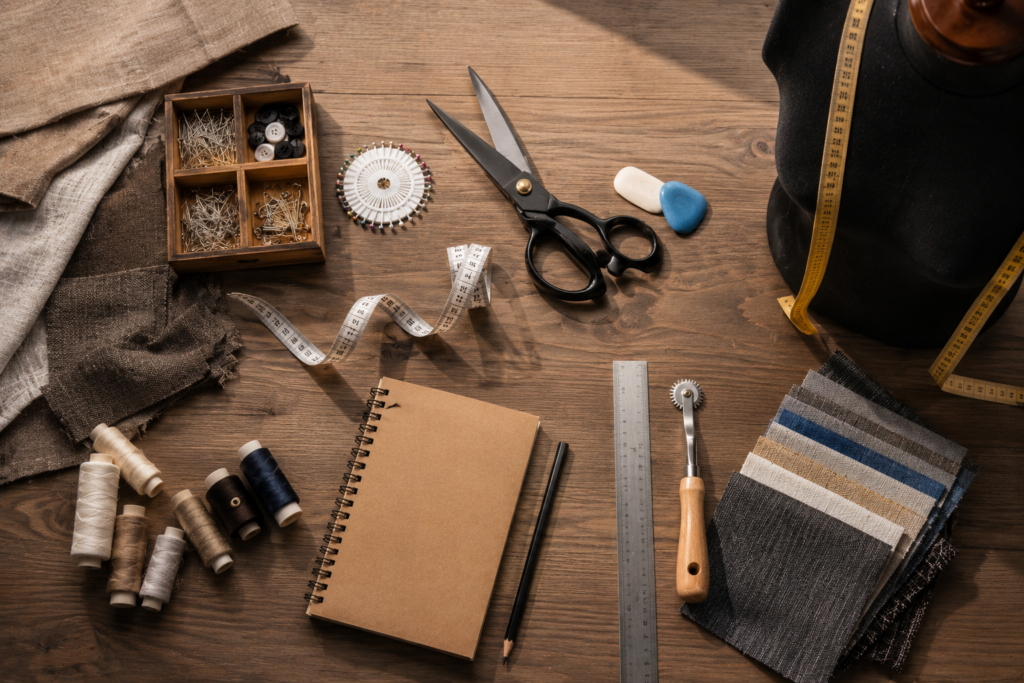
| Flexible cloth or fiberglass tape measure | Follows the body’s curves; a metal tape cannot. |
| Waist elastic or thin ribbon | Marks the natural waist so related measurements share one reference point. |
| Full-length mirror | Keeps the tape level, especially across the back. |
| Notebook, spreadsheet, or app | Measurements should be recorded immediately. |
| A second person (recommended) | Shoulder, back, and across-back measurements are more accurate with help. |
| Fitted undergarments or light clothing | Prevents extra bulk from skewing the numbers. |
Avoid measuring over thick sweaters, jeans, padded bras, or structured shapewear — these distort the reading.
Before You Start
- Stand naturally, feet about hip-width apart, arms relaxed at your sides
- Remove shoes unless measuring for a specific heel height
- Don’t suck in your stomach or hold your breath – this gives a false waist reading
- Keep the tape level and untwisted; snug but not compressing the body (one finger should fit under it)
- To find the natural waist, bend gently to one side – the crease that forms marks it
- Record every measurement immediately and measure each area twice to confirm accuracy
If you’re measuring someone else, have them turn slowly in place rather than walking around them – it keeps their posture consistent.
Standard Body Measurements Every Fashion Designer Should Know
The 22 key body measurements used in garment construction and pattern making.
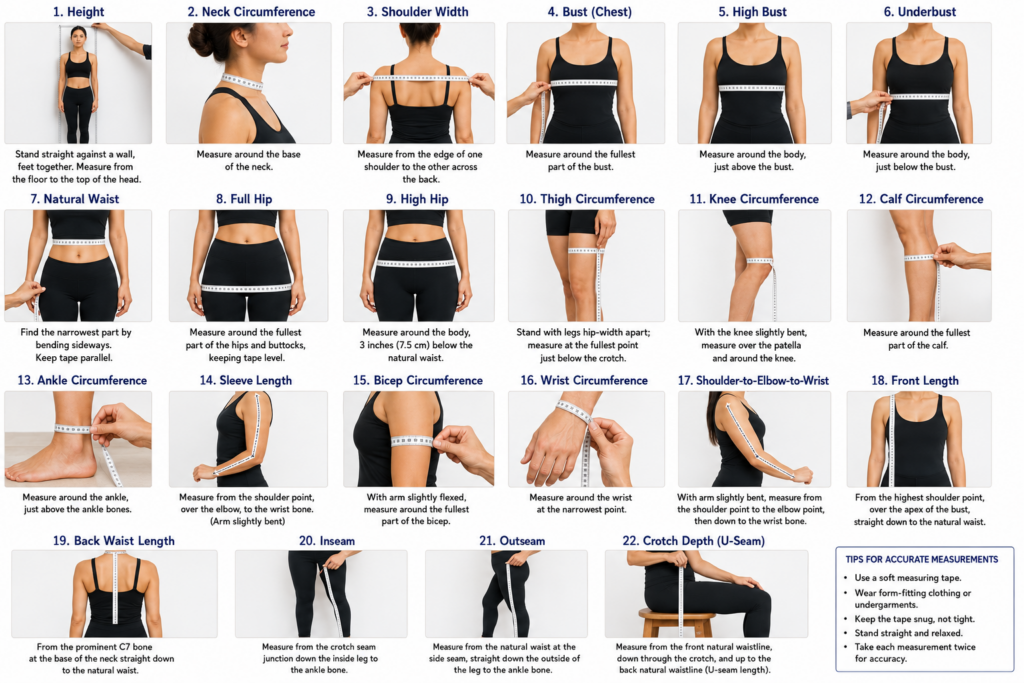
1. Height
Stand barefoot against a wall with your heels touching the wall and your feet together. Keep your back straight and look forward. Ask someone to measure from the floor to the top of your head.
Tip: Don’t wear shoes or stand on carpet for the most accurate measurement.
Used For
- Dresses
- Jumpsuits
- Trousers
- Long coats
- Pattern scaling
2. Neck Circumference
Wrap the measuring tape around the base of your neck where a shirt collar normally sits. The tape should rest comfortably against your skin without feeling tight.
Leave enough room to slide one finger under the tape.
Avoid: Pulling the tape too tightly, as this can make collars uncomfortable.
Used For
- Shirts
- Jackets
- Kurtas
- Collars
3. Shoulder Width
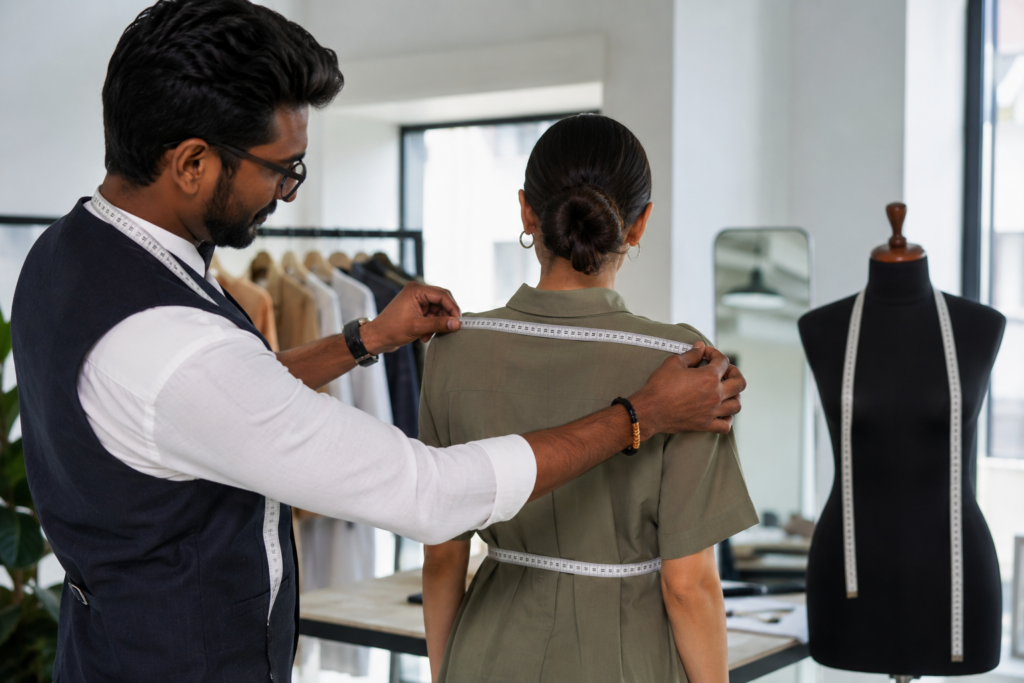
Find the point where one shoulder ends and the arm begins. Measure straight across your back to the same point on the opposite shoulder.
It’s much easier if another person helps with this measurement.
Tip: Keep your shoulders relaxed instead of pulling them back.
Used For
- Jackets
- Blazers
- Shirts
- Dresses
4. Bust (Chest)
Stand naturally with your arms relaxed at your sides.
Wrap the tape around the fullest part of the bust (or chest for men), keeping it level all the way around your body.
Do not puff out your chest or suck in your stomach.
The tape should feel snug but not tight.
Avoid: Holding the tape at an angle across your back.
Used For
- Dresses
- Shirts
- Blouses
- Jackets
- Coats
5. High Bust
Place the tape around your body just above the fullest part of your bust and directly under your armpits.
Keep the tape level across your back.
This measurement is especially useful when fitting women’s garments because it helps determine bust adjustments.
6. Underbust
Wrap the tape directly underneath the bust where the bra band normally sits.
Stand naturally and breathe normally while taking the measurement.
Do not tighten the tape excessively.
Used For
- Corsets
- Lingerie
- Structured gowns
- Fitted bodices
7. Natural Waist
Locate your natural waist using the ribbon or elastic you tied earlier.
Wrap the measuring tape around this point, making sure it stays level.
Relax your stomach and breathe normally.
Avoid: Measuring over the waistband of your pants instead of your natural waist.
Used For
- Dresses
- Skirts
- Trousers
- Shorts
- Jackets
8. Full Hip
Stand with your feet together.
Wrap the tape around the fullest part of your hips and buttocks while keeping it level all the way around.
Check in a mirror to make sure the tape isn’t higher in the back.
Used For
- Jeans
- Trousers
- Dresses
- Pencil skirts
- Shorts
9. High Hip
Measure around your body approximately 3–4 inches (7.5–10 cm) below the natural waist.
Keep the tape straight and parallel to the floor.
This measurement improves the fit of tailored garments around the upper hip area.
10. Thigh Circumference
Stand with your weight evenly distributed on both feet.
Wrap the tape around the fullest part of one thigh.
Do not squeeze the tape into your skin.
Used For
- Trousers
- Jeans
- Shorts
- Sportswear
11. Knee Circumference
Stand naturally with your leg straight but not locked.
Measure around the center of your knee.
This measurement helps create comfortable slim-fit trousers and sportswear.
12. Calf Circumference
Measure around the widest part of your calf.
Keep your feet flat on the floor and your weight balanced.
This ensures enough room for movement in fitted garments.
13. Ankle Circumference
Wrap the tape around the narrowest part of your ankle, just above the ankle bone.
This measurement is commonly used for tapered trousers, leggings, and boots.
14. Sleeve Length
Slightly bend your elbow.
Start measuring from the shoulder point, continue over the elbow, and finish at the wrist bone.
Bending the arm slightly allows enough length for comfortable movement.
Avoid: Measuring with a completely straight arm.
15. Bicep Circumference
Relax your arm naturally at your side.
Wrap the tape around the fullest part of your upper arm.
Keep the tape snug without compressing the muscle.
This measurement determines how loose or fitted the sleeve will be.
16. Wrist Circumference
Wrap the measuring tape around the wrist bone.
Leave just enough room for comfortable movement.
This helps create properly fitting shirt cuffs and jacket sleeves.
17. Across Back (Back Width)
Measure from one arm crease to the other across the widest part of your upper back.
Keep the tape straight and horizontal.
Because this measurement is difficult to take alone, having someone assist is recommended.
Used For
- Jackets
- Blazers
- Tailored shirts
- Pattern drafting
18. Front Length
Start at the highest point of the shoulder next to the neck.
Run the tape over the fullest part of the bust and continue down to the natural waist.
Keep the tape close to the body without pulling it tightly.
This measurement helps balance bodices and fitted dresses.
19. Back Waist Length
Locate the prominent bone at the back of your neck (the C7 vertebra).
Measure straight down the center of your back to the natural waist.
Stand naturally without arching your back.
This is one of the most important measurements for accurate pattern drafting.
20. Inseam
Stand with your feet slightly apart.
Measure from the crotch down the inside of the leg to the ankle.
It’s much easier and more accurate if another person helps.
This determines the finished length of trousers and jeans.
21. Outseam
Measure from the natural waist down the outside of the leg to the ankle.
Keep the tape straight and close to the body.
The outseam is commonly used to verify trouser length and check inseam measurements.
22. Crotch Depth
Sit upright on a hard, flat chair or stool, with your feet flat on the floor and your back straight.
Place the tape at your natural waist and let it hang straight down at your side until it touches the seat.
Measure the distance from your waist to the point where the tape meets the chair surface.
Take this measurement seated, not standing — it captures the vertical space your body needs at the crotch when sitting, which is different from simply measuring waist-to-hip while standing.
Avoid: Slouching or leaning forward, which shortens the reading and results in a trouser rise that’s too short.
Used For
Trousers
Jeans
Shorts
Leggings/Activewear bottoms
Measurement Reference by Garment Type
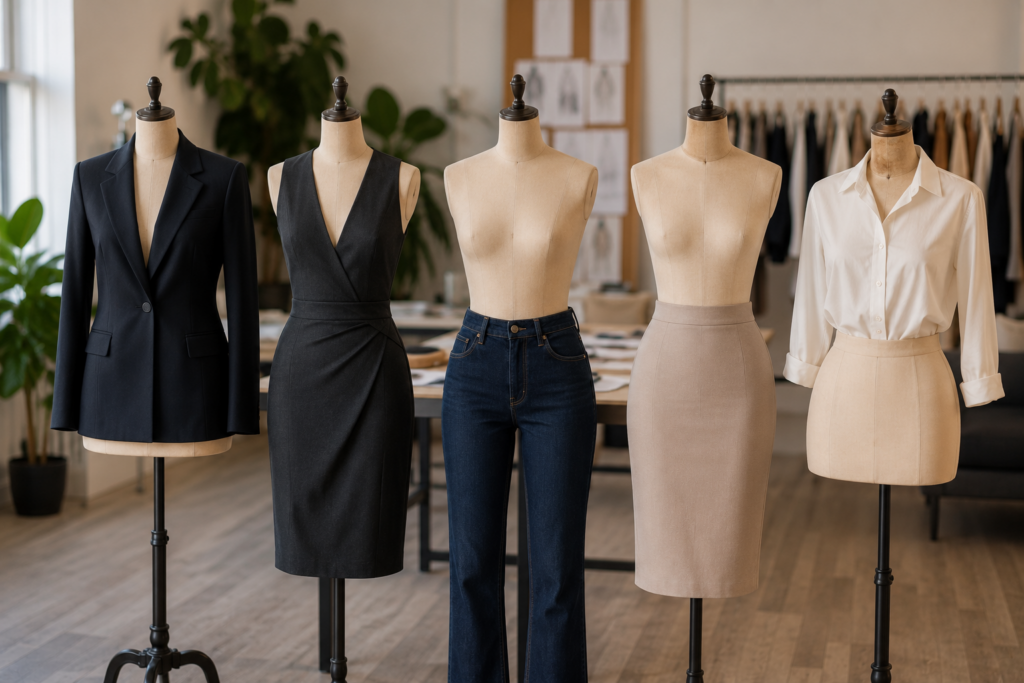
You rarely need all 21 measurements for one project — take what’s relevant to the garment.
| Measurement | Where to Measure | Commonly Used For |
| Neck | Base of the neck | Shirts, jackets, collars |
| Shoulder Width | Shoulder tip to shoulder tip | Jackets, tops |
| Bust / Chest | Fullest point, tape level | Dresses, shirts, coats |
| Underbust | Directly below the bust | Corsets, fitted bodices |
| Across Back | One arm crease to the other | Jackets, fitted tops |
| Natural Waist | Narrowest point of the torso | Nearly all garments |
| High Hip | 3–4 in (7–10 cm) below waist | Fitted trousers, pencil skirts |
| Full Hip | Widest point of hips/seat | Skirts, trousers, dresses |
| Sleeve Length | Shoulder to wrist, elbow bent | Sleeves |
| Bicep | Fullest part of upper arm | Sleeve width |
| Wrist | Around the wrist bone | Cuffs |
| Front Length | Shoulder to waist over bust | Bodices, dresses |
| Back Waist Length | C7 vertebra to natural waist | Dresses, bodices |
| Crotch Depth | Waist to chair seat, seated | Trouser rise |
| Inseam | Crotch to hem, inside leg | Trouser length |
| Outseam | Waist to hem, outside leg | Trouser length cross-check |
| Thigh | Fullest part of upper thigh | Trousers, jeans |
| Calf | Widest part of the calf | Leggings, boots |
| Ankle | Narrowest part of the ankle | Joggers, tapered hems |
| Height | Crown of head to floor | Overall garment scaling |
Quick Garment-Type Lookup
| Garment | Core Measurements Needed |
| T-Shirt / Knit Top | Chest, Shoulder Width, Sleeve Length |
| Woven Shirt / Blouse | Neck, Chest, Shoulder, Sleeve Length, Wrist |
| Fitted Dress | Bust, Waist, Hip, Shoulder, Front Length, Back Waist Length |
| Skirt | Waist, High Hip, Full Hip, Length |
| Trousers / Jeans | Waist, Full Hip, Crotch Depth, Inseam, Outseam, Thigh |
| Jacket / Blazer | Neck, Chest, Shoulder, Across Back, Sleeve, Waist |
| Activewear / Leggings | Waist, Hip, Thigh, Knee, Calf, Ankle, Inseam |
Pro tip: record every measurement in both inches and centimeters — pattern companies and tech packs don’t all use the same unit, and this saves later conversion errors.
Men’s vs. Women’s Measurement Differences
Most landmarks are measured the same way for everyone; a few differ by body shape and construction. Women’s patterns use the bust apex as a reference for darts and front length, commonly require an underbust measurement, and involve more pronounced waist shaping — the hip is often the widest part of the torso. Men’s patterns use a straighter chest reading, rarely need underbust, and the chest/shoulders are usually the widest point, with less waist-to-hip difference.
Measuring Different Body Shapes
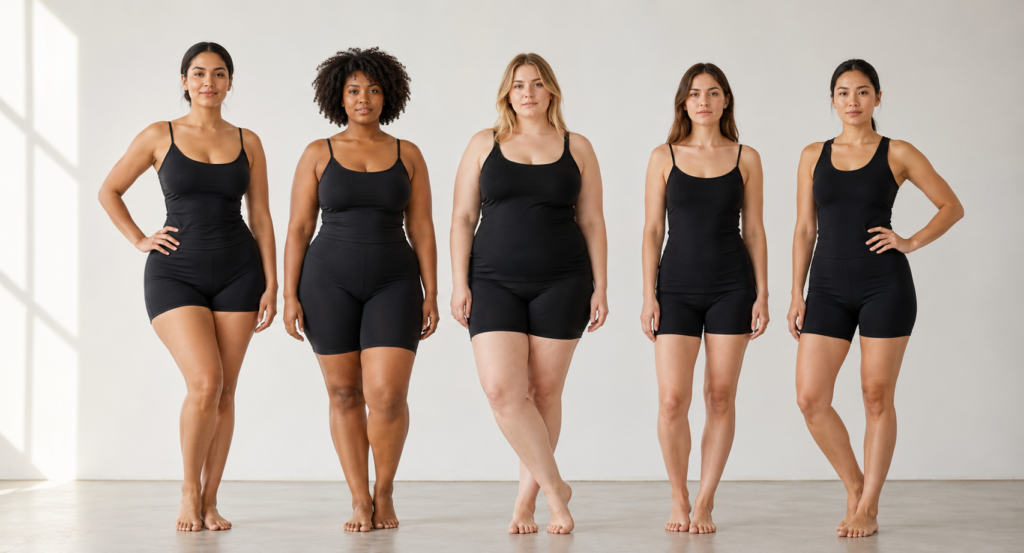
Two people can share identical bust, waist, and hip numbers but need different pattern adjustments because of proportion. Note body shape alongside the raw measurements:
- Hourglass — bust and hips are similar, waist is notably smaller. Measure bust and hips independently rather than assuming they match.
- Pear — wider hips and thighs, narrower shoulders/bust. Pay extra attention to full hip, high hip, and thigh.
- Apple — fuller waist and midsection, making the natural waist harder to find. Use the bend-and-crease method to locate it.
- Rectangle — bust, waist, and hip are close in size with little shaping. Shoulder width and hip proportion matter more here than waist shaping.
- Inverted Triangle — broad shoulders, narrower hips. Shoulder width and across-back accuracy strongly affect jacket, blouse, and dress fit.
Also note posture (rounded, forward, or sloping shoulders, uneven shoulder height) and left/right asymmetry — very few people are perfectly symmetrical, and recording these lets a patternmaker adjust intentionally rather than treat them as measuring errors.
Common Mistakes and How to Avoid Them
| Mistake | Result |
| Measuring over bulky clothing | Garment ends up too loose |
| Pulling the tape too tight | Garment ends up too small |
| Holding the tape too loosely | Garment becomes oversized |
| Twisting the tape or angling it across the back | Inaccurate circumference readings |
| Measuring at the pants waistband instead of the natural waist | Poor garment balance and incorrect waist fit |
| Standing unnaturally (holding stomach in, over-straightening posture) | Distorted torso measurements |
| Measuring sleeve length with a straight arm | Sleeves ride up when the elbow bends |
| Relying on memory instead of recording immediately | Transposed numbers, forgotten measurements |
| Measuring only once | Errors go unnoticed with no way to verify |
Quick-Estimate Formulas
When a tape measure isn’t available — for an initial draft or a placeholder value — traditional tailoring uses ratio-based formulas from height. These are approximations only and should never replace an actual measurement before cutting fabric.
| Measurement | Rough Formula (Inches) |
| Bust / Chest Round | (Height ÷ 8 + 1) × 4 |
| Waist Round | Bust Round − 4 |
| Hip Round | Bust Round + 2 |
| Shoulder Width (Men) | Chest Round ÷ 2 |
| Full Sleeve Length | Height × 3/8 |
Key Takeaways
- Accurate measurements start with the correct landmarks, consistent tape tension, and natural posture.
- Body measurements and garment measurements are not the same — ease connects the two, and it’s a design decision, not a correction for bad measuring.
- Recording measurements immediately and checking each one twice eliminates most fitting problems before any fabric is cut.
- These fundamentals improve every pattern you draft and every garment you fit, whether you’re a student, home sewist, or professional patternmaker.